Without a doubt, transitioning to an M.2 solid-state drive stands out as one of the most straightforward and economical strategies to rejuvenate an aging PC. Replacing your traditional hard disk drive (HDD) with a fast M.2 SSD can significantly improve your computer’s overall speed and responsiveness.
This guide will explain installing an M.2 SSD on your desktop or laptop. By the end, you’ll be amazed at how much quicker your PC feels for everyday tasks like booting up, launching apps, opening files, and more.
What is an M.2 SSD?
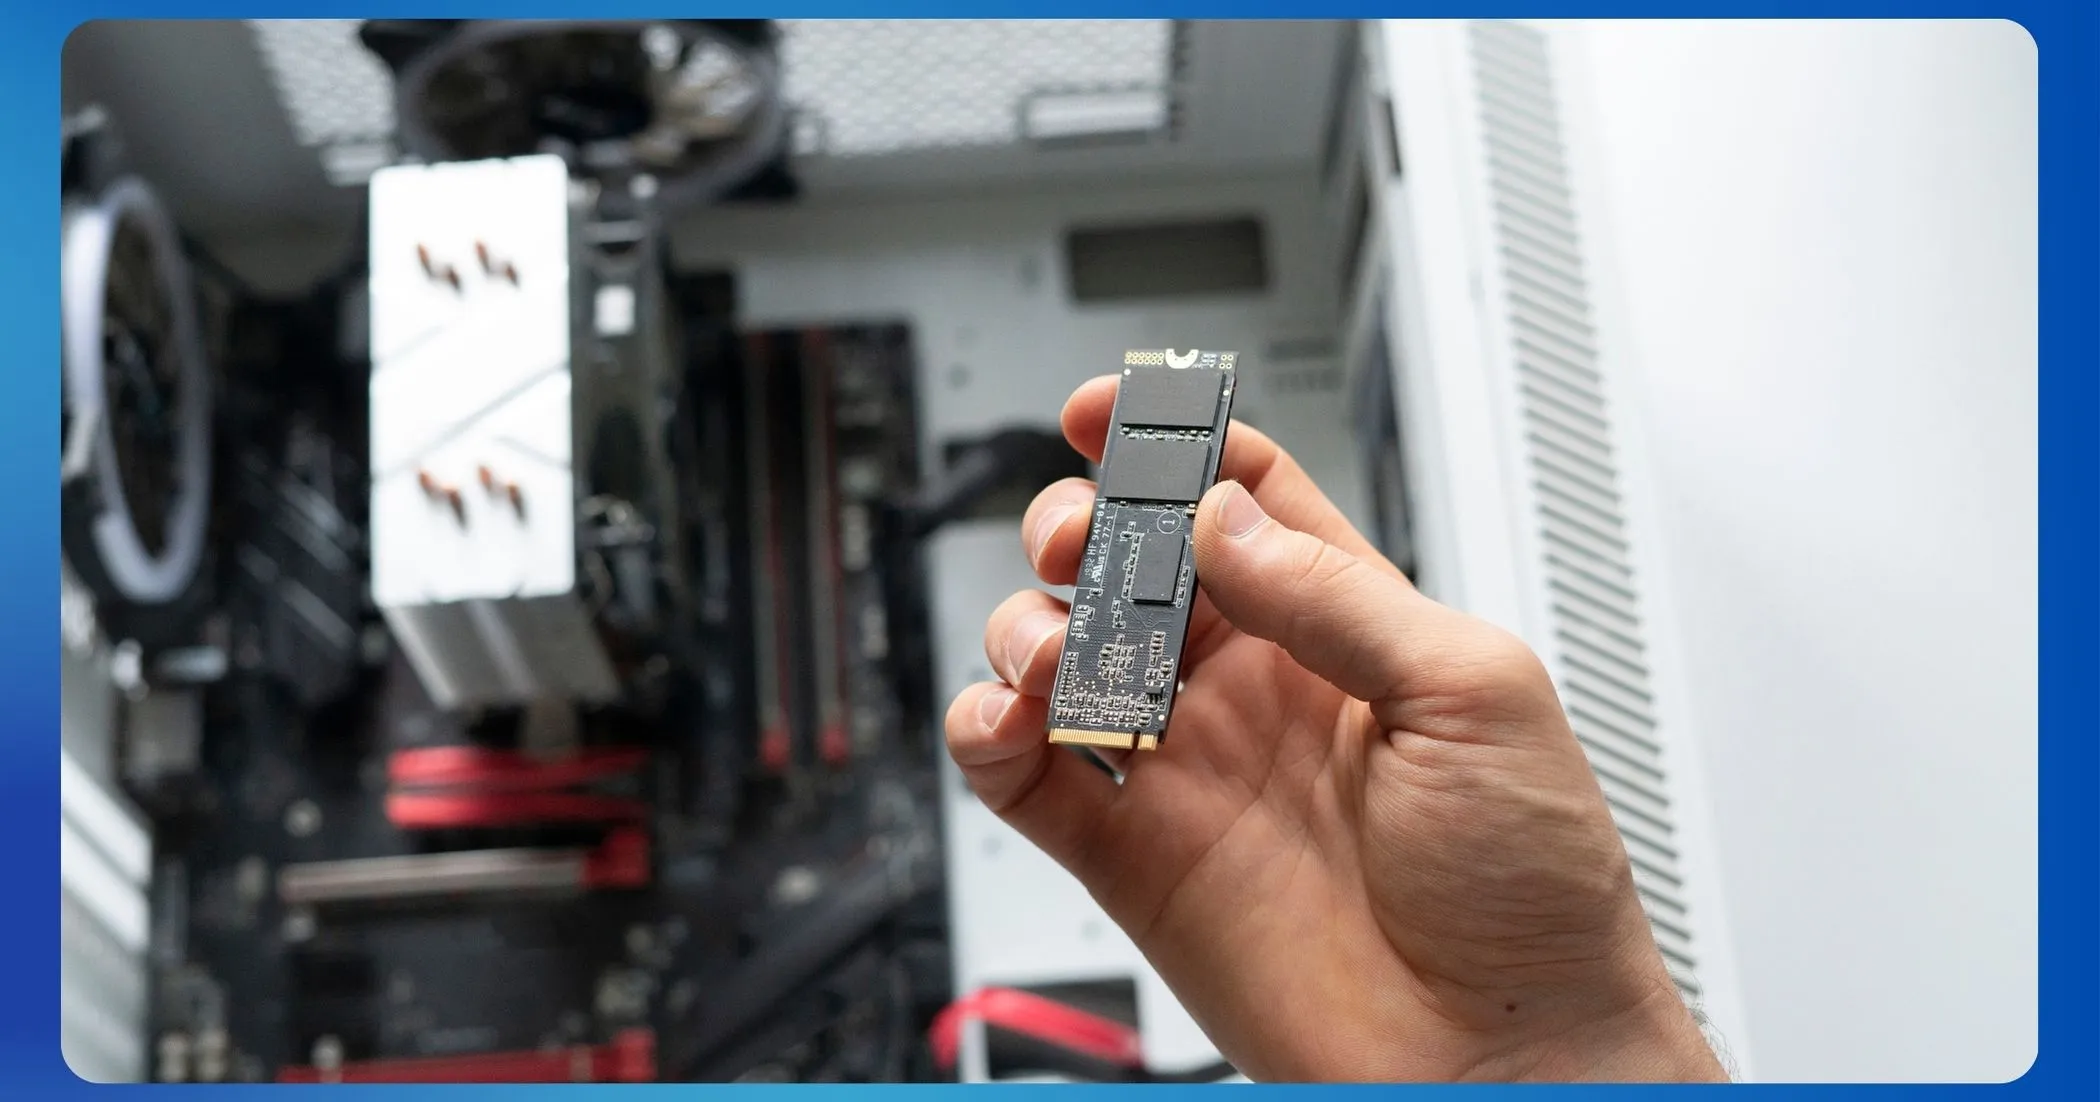
An M.2 SSD, or M.2 solid state drive, is a next-generation storage device that uses NAND flash memory chips rather than spinning platters to store data. M.2 drives get their name from the M.2 connection slot on modern motherboards, where they are installed directly onto the computer’s main circuit board.
Compared to traditional 2.5-inch SATA SSDs, M.2 drives are smaller and have a streamlined circuit board design that allows them to be installed perpendicular to the motherboard. This conserves space inside cramped laptops and mini PCs.
Performance-wise, M.2 SSDs are significantly faster than HDDs and on par with or surpass SATA SSDs in many usage scenarios. Their direct connection to the PCIe bus allows high-end M.2 models to deliver sequential read/write speeds 5-10 times faster than standard hard drives.
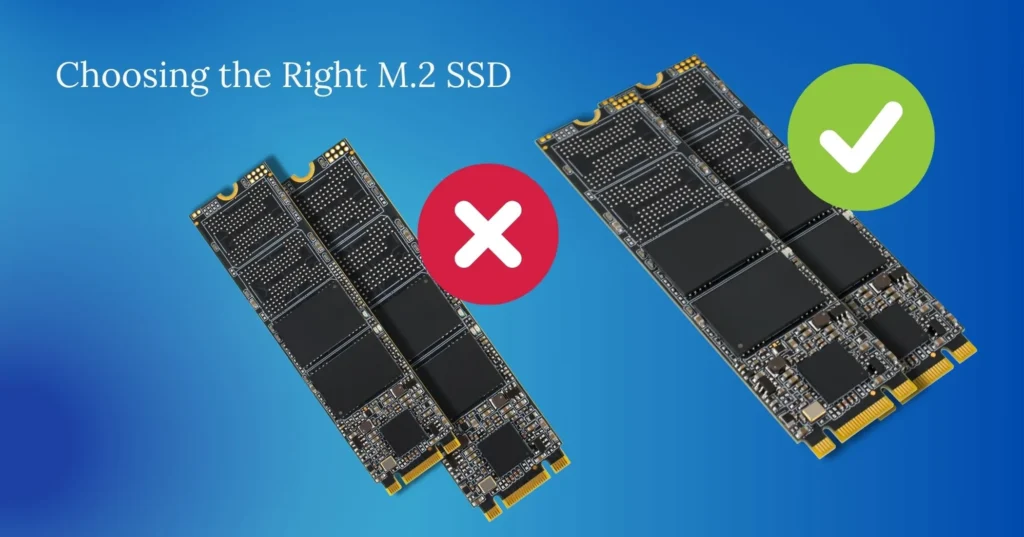
Choosing the Right M.2 SSD for Your Needs
When shopping for an M.2 SSD, the most important specifications to consider are capacity size, interface type, and warranty period:

- Capacity SSDs are available from 128GB to 2TB or more. Aim for at least 250GB for moderate use or 500GB-1TB if you install many games/programs.
- Interface: Look for M.2 drives that use the PCIe (NVMe) interface for best speeds. SATA-based M.2 drives are cheaper but slower.
- Warranty: Reputable brands like Western Digital, Samsung, and Crucial offer 5-year limited warranties as standard on their M.2 SSDs.
Factors like sequential read/write speeds, endurance ratings, and included software aren’t as critical for most users. Stick with a trusted brand within your budget for quality and peace of mind.
Installing an M.2 SSD on Your Desktop PC
With the suitable M.2 SSD in hand, let’s go through the installation process step-by-step:
- Prepare your materials. If included, you’ll need a Phillips (+) screwdriver, your new M.2 SSD, and any installation software/drivers.
- Download drivers (if needed). Some M.2 SSD brands provide driver packages on their website. Download and extract these to a USB stick before installation.
- Turn off your PC and unplug the power cord. This ensures you don’t accidentally shock any components.
- Remove the side panel. Loosen any screws securing your case side panel and remove them to access the motherboard area.
- Locate the M.2 slot. Consult your motherboard manual if needed. M.2 slots are typically found near the top edge or CPU.

- install-an-m-2-ssd-in-pc-laptop
- Remove any existing cover. Small M.2 slot covers screw off – replace this cover if leaving the slot empty.
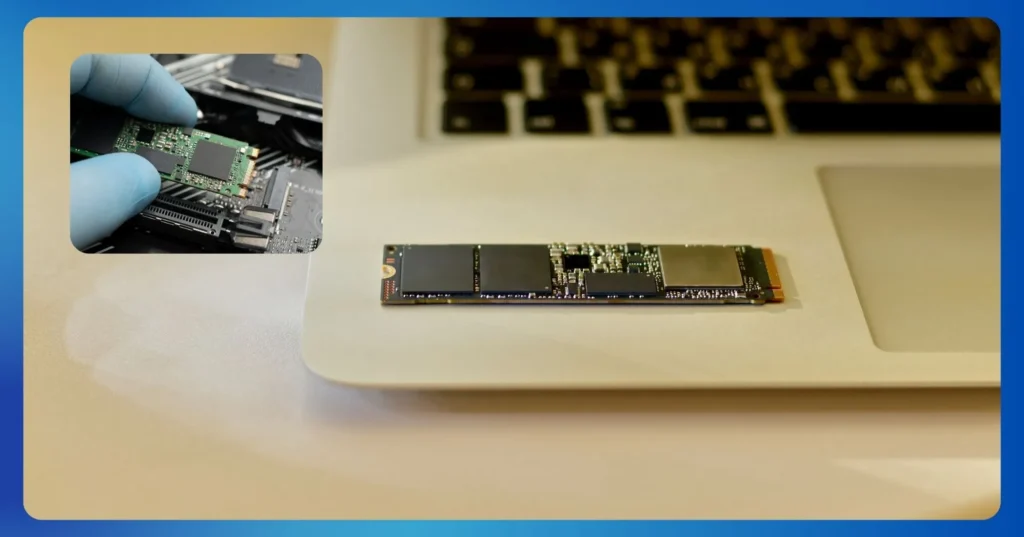
- Insert the SSD. Align the notch and gently insert the M.2 SSD at a 30-degree angle, pressing firmly until it is securely positioned.
- Tighten the retention screw. Use the included screw to fasten the M.2 SSD in the slot. Don’t over-tighten.
- Reinstall the side panel and power it on. Replace the case side, plug-in power, and then power on your PC. Allow time for installation if the included drivers are used.
- Configure in BIOS if needed. Some motherboards require setting the M.2 SSD as the #1 boot drive in BIOS for Windows/ programs to detect it.
And that’s it – your M.2 SSD is now installed and ready to supercharge your PC! Install programs/games to take advantage of the speed boost.
Installing an M.2 SSD in a Laptop
Laptop M.2 installation follows many of the same basic steps as the desktop but may vary slightly by model:
- Back up data and shut down. Make sure to backup important files in case of any issues during installation.
- Remove the bottom panel. Gently pry off the rubber feet, then unscrew the access panel at the bottom of the laptop.
- Locate M.2 slot. M.2 slots are typically below or above the primary storage bay on modern ultrabooks.
- Remove any screws. Lift out the existing SSD/HDD to reveal screws securing the M.2 cover or mounting bracket.
- Insert new M.2 SSD. Carefully align the notch and press firmly into the socket at a 30-degree green angle until fully seated.
- Secure with a mounting bracket. Replace any screws holding the M.2 SSD firmly in its slotted bracket position.
- Replace the bottom panel and batteries. Snap the access cover back into place and replace the screws evenly to avoid warping.
- Boot and configure. Power on a laptop, install drivers/software as needed, then select the M.2 SSD in startup settings (BIOS).
That’s the quick run-through! Laptop M.2 installation is typically easier than desktop, though some require disassembling more components to access the slots. Just take your time and double-check screw placements.

Enjoy a Revitalized, Blazing Fast PC Experience
Upgrading your aging laptop or desktop PC to an affordable M.2 SSD brings new life into the system. From noticeably quicker boot times and application loading to speedier file transfers and much more responsive multitasking – an M.2 SSD makes using your computer feel like it’s brand new again.
Whether you’re a student, professional, or avid gamer, an M.2 upgrade delivers a considerable performance boost for just a couple hundred dollars or less. It’s one of the highest return-on-investment upgrades available.
So don’t delay – take your older PC to the next level today with an M.2 SSD installed in just minutes. Your patience will be rewarded with a remarkably smoother and faster computing experience!
Read also:


