Whether you’re a casual web surfer or a hardcore gamer, we can all appreciate a little extra pep in our computing steps. Today, We’re thrilled to share some tips on one of the most affordable and impactful upgrades around – installing more RAM.
But first things first, as with any new project, it’s essential to get a lay of the land. Here are a few things we recommend checking before diving into a purchase:
Check your current RAM.
How much memory do you currently have installed? Many everyday tasks start dragging around the 4GB mark, so peek at your system properties to see where you stand. Next, take a gander at your usage levels in the task manager – is more than 80% consistently spoken for, even at idle? That’s a sure sign more RAM could spread things out.
Lastly, ensure anything new will be friendly with what you’ve got. Compatibility issues can rain on the parade, so confirm your motherboard supports the same memory type. With some baseline intel gathered, we’ll be set to rock on with choosing what type and size of modules are right for you!
How Much RAM Do You Have?
Don’t you just love a pleasant shock of “oomph” occasionally? Knowing how much memory muscle you have working for you will set the stage for the next exciting installment. Peel back the panels to peek inside or check system properties – this initial info is vital.
Look At Your Current RAM Usage
When upgrading, it’s a blast to squeeze every last drop of functionality out of your system. One quick way to scope out slack vs maximum capacity is by observing usage levels using a handy task manager. Seeing where you stand at idle can point out headroom for improvement by installing an extra memory module or two!
Compatibility With Your Motherboard
Of course, we want whatever components we add to play well together for ultimate harmony. Verifying your motherboard’s memory dance card against what already pops and locks inside ensures our expanded configuration remains complementary without clashing. Compatibility is music to any techie’s ears!
Next, we’ll explore choosing the right RAM partner to match your jam. This selection process has a couple of factors worth spinning, so buckle up – it’s time for the fun stuff!
Read also: An In-Depth Guide to the Best Motherboards for Intel Core i9-14900K
Choose the correct RAM.
When upgrading, choosing the right type and amount of RAM for your needs is essential. To guarantee compatibility and peak performance, it’s crucial to consider several pivotal factors.
Let’s explore the primary specifications when finding RAM that fits your system and usage.
Capacity of RAM needed
How much memory you need depends mainly on what you use your computer for. Basic tasks like checking email, creating documents, and browsing the web typically work well with 8GB of RAM.
However, if you enjoy playing graphics-heavy games, editing videos, or working with large design files, you’ll get a much better experience with 16GB or more. Creative workstations sometimes benefit from 32GB or higher for ultra-smooth performance with huge project files.

Frequency
RAM frequency, often called speed, indicates the rapidity at which it can move data back and forth between your processor. The measurement is given in megahertz (MHz) or gigahertz (GHz), with higher numbers corresponding to greater velocities.
Most modern memory modules boast frequencies ranging from 2400MHz to 4000MHz or higher. Ensure you verify your motherboard’s supported RAM speeds before purchasing, as not all boards can take full advantage of extreme frequencies.
Voltage
RAM modules are engineered to function at precise voltage levels, usually 1.2 volts (V) or 1.35V. Deviating too far from these specifications can damage components over time if checked.
Stick with your memory’s stock voltage for safe, reliable use. Some high-frequency kits may require more juice, but anything above 1.5V poses unnecessary risk without expert cooling and controls.
Timings
RAM timings refer to the delay periods measured in clock cycles that memory waits between tasks like accessing or writing data. Lower timings equate to faster operational speeds.
Cas Latency (CL), traditionally indicated alongside frequency, offers a simple shorthand, though additional timings like tRCD and tRP are also a factor. Faster sets will show tighter, lower numbers all around to maximize throughput.
Type of RAM
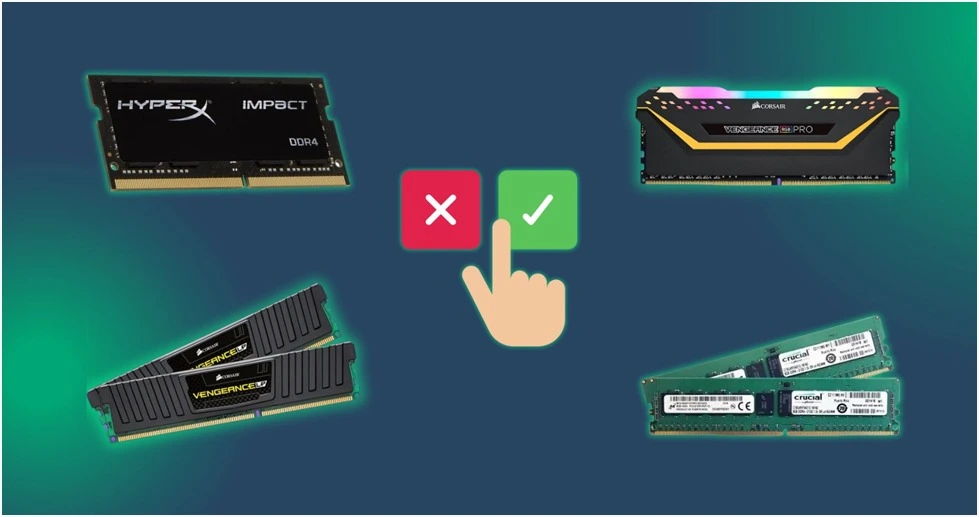
The two primary types available today are DDR4 and DDR5. DDR4 remains the mainstream standard across most systems, offering outstanding performance at affordable prices.
The newer DDR5 brings higher max speeds but requires a pricey new platform upgrade. For most users, sticking with tried-and-true DDR4 modules provides the best value and ensures compatibility with their existing motherboard and processors.
Now that we’ve shopped for a suitable memory mate, it’s time to RSVP them over for an installation play date. Next, we’ll walk through the simple steps to make it official:
Install the new RAM
- Turn off the computer: Safety first – always fully power down and unplug the cord before tinkering or swapping occurs. Static can seriously crash the party otherwise!
- Remove existing RAM: Gently spread the retaining clips and extract any current modules with care not to bend pins as they come on out. We’ll set those aside for safekeeping until we’re done.

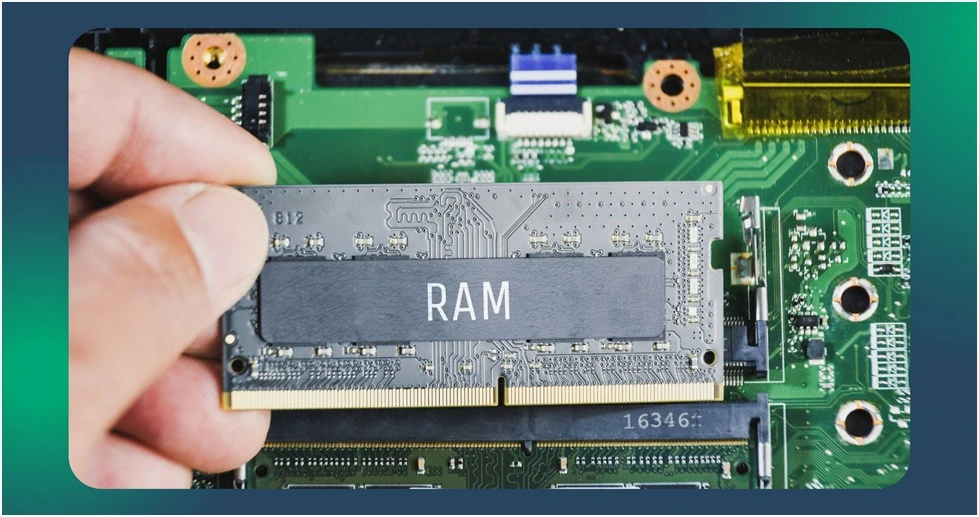
- Install new RAM: Give each new stick a quick inspection, then line up the notch in the gold fingers and apply steady pressure till the clips snap shut with that satisfying click. Woo! Almost there.
- Replace cover: With all memory now seated, double-check your work before replacing shrouds or side panels. Connect any cables unplugged, and we’ll be in business!
Read also: Why are motherboards getting too expensive and What do You Need to Know?
Naturally, no upgrade is complete without a test drive to ensure our new RAM is up to snuff. In the next section, we’ll put it through its paces:
Test the new RAM
- Test with diagnostic tools: Applications like MemTest86 allow for thorough overnight testing across multiple memory access routines to weed out potential errors or faults.
- Check for errors: In the morning, scan results for failures – our goal is perfection! Even one could signal a need for reseating or alternate slots to isolate sticky sticks.
- Reseat RAM if errors are found: If problems surface, carefully reseat each module while double-checking full engagement before rerunning diagnostics. Persistent faults may require warranty replacement of defective memory.
With confidence in our upgrade established, it’s time to dial things in for maximum function and enjoyment. Optimizing a few BIOS settings is all it takes:
Optimize the new RAM
- Enable XMP/DOCP in BIOS: These profiles in BIOS unlock rated speeds so our modules can now dance to the beat of their drum without limitation.
- Check dual channel operation: With matched module pairs in the right colored slots, as shown in mobo docs, we’ll operate two modules simultaneously.
- Save and exit BIOS: Changes are preserved, and we can now admire our handiwork in fully optimized form. Time to see what this boost can do!
From there, it’s all about basking in the warm glow and increased efficiency of an optimized memory setup:
Enjoy the benefits
- Faster boot times
- Smoother multitasking
- Better gaming performance
- Increased productivity
- Monitor RAM usage and temperature
- Maintain clean RAM
We hope you’ve all found this guide informative and fun! RAM upgrades are simple, affordable ways to re-energize aged systems. Please reach out if any part of the process has you scratching your head. Now get in there and let me know how your customized configuration runs – we’re excited to hear how it serves you!


